Do you receive invoices via Peppol, or do you scan documents with AI Scan? In this article you will learn how to process these documents and forward them to your accountant.
Incoming documents follow two routes:
In the Peppol tab you will find all documents you receive via the Peppol network: purchase invoices, credit notes and self-billing documents.
💡 Tip: The Peppol tab is a temporary collection point. Documents stay here until you process them - not everything that comes in needs to end up in your purchase invoices.
The Peppol tab functions as a filter between receiving and processing. This gives you the ability to:
After reviewing a document, you have several options:
The most common action for purchase invoices and credit notes:
The document now disappears from the Peppol tab and appears in Expenses.
Not every document belongs in your accounting. Reject documents that are not relevant:
💡 Examples of documents to reject: duplicate receipts or documents that were not intended for you. You can undo a rejection later.
Some Peppol documents do not go to Expenses, but to a different module:
| Document type | Process to |
|---|---|
| Purchase invoices | Expenses |
| Credit notes | Expenses |
| Self-billing documents | Purchase borderelles |
With self-billing, your supplier receives your invoice instead of the other way around. These documents are processed separately in the Purchase borderelles module.
Documents you scan or upload via AI Scan skip the Peppol tab. They appear immediately in Expenses:
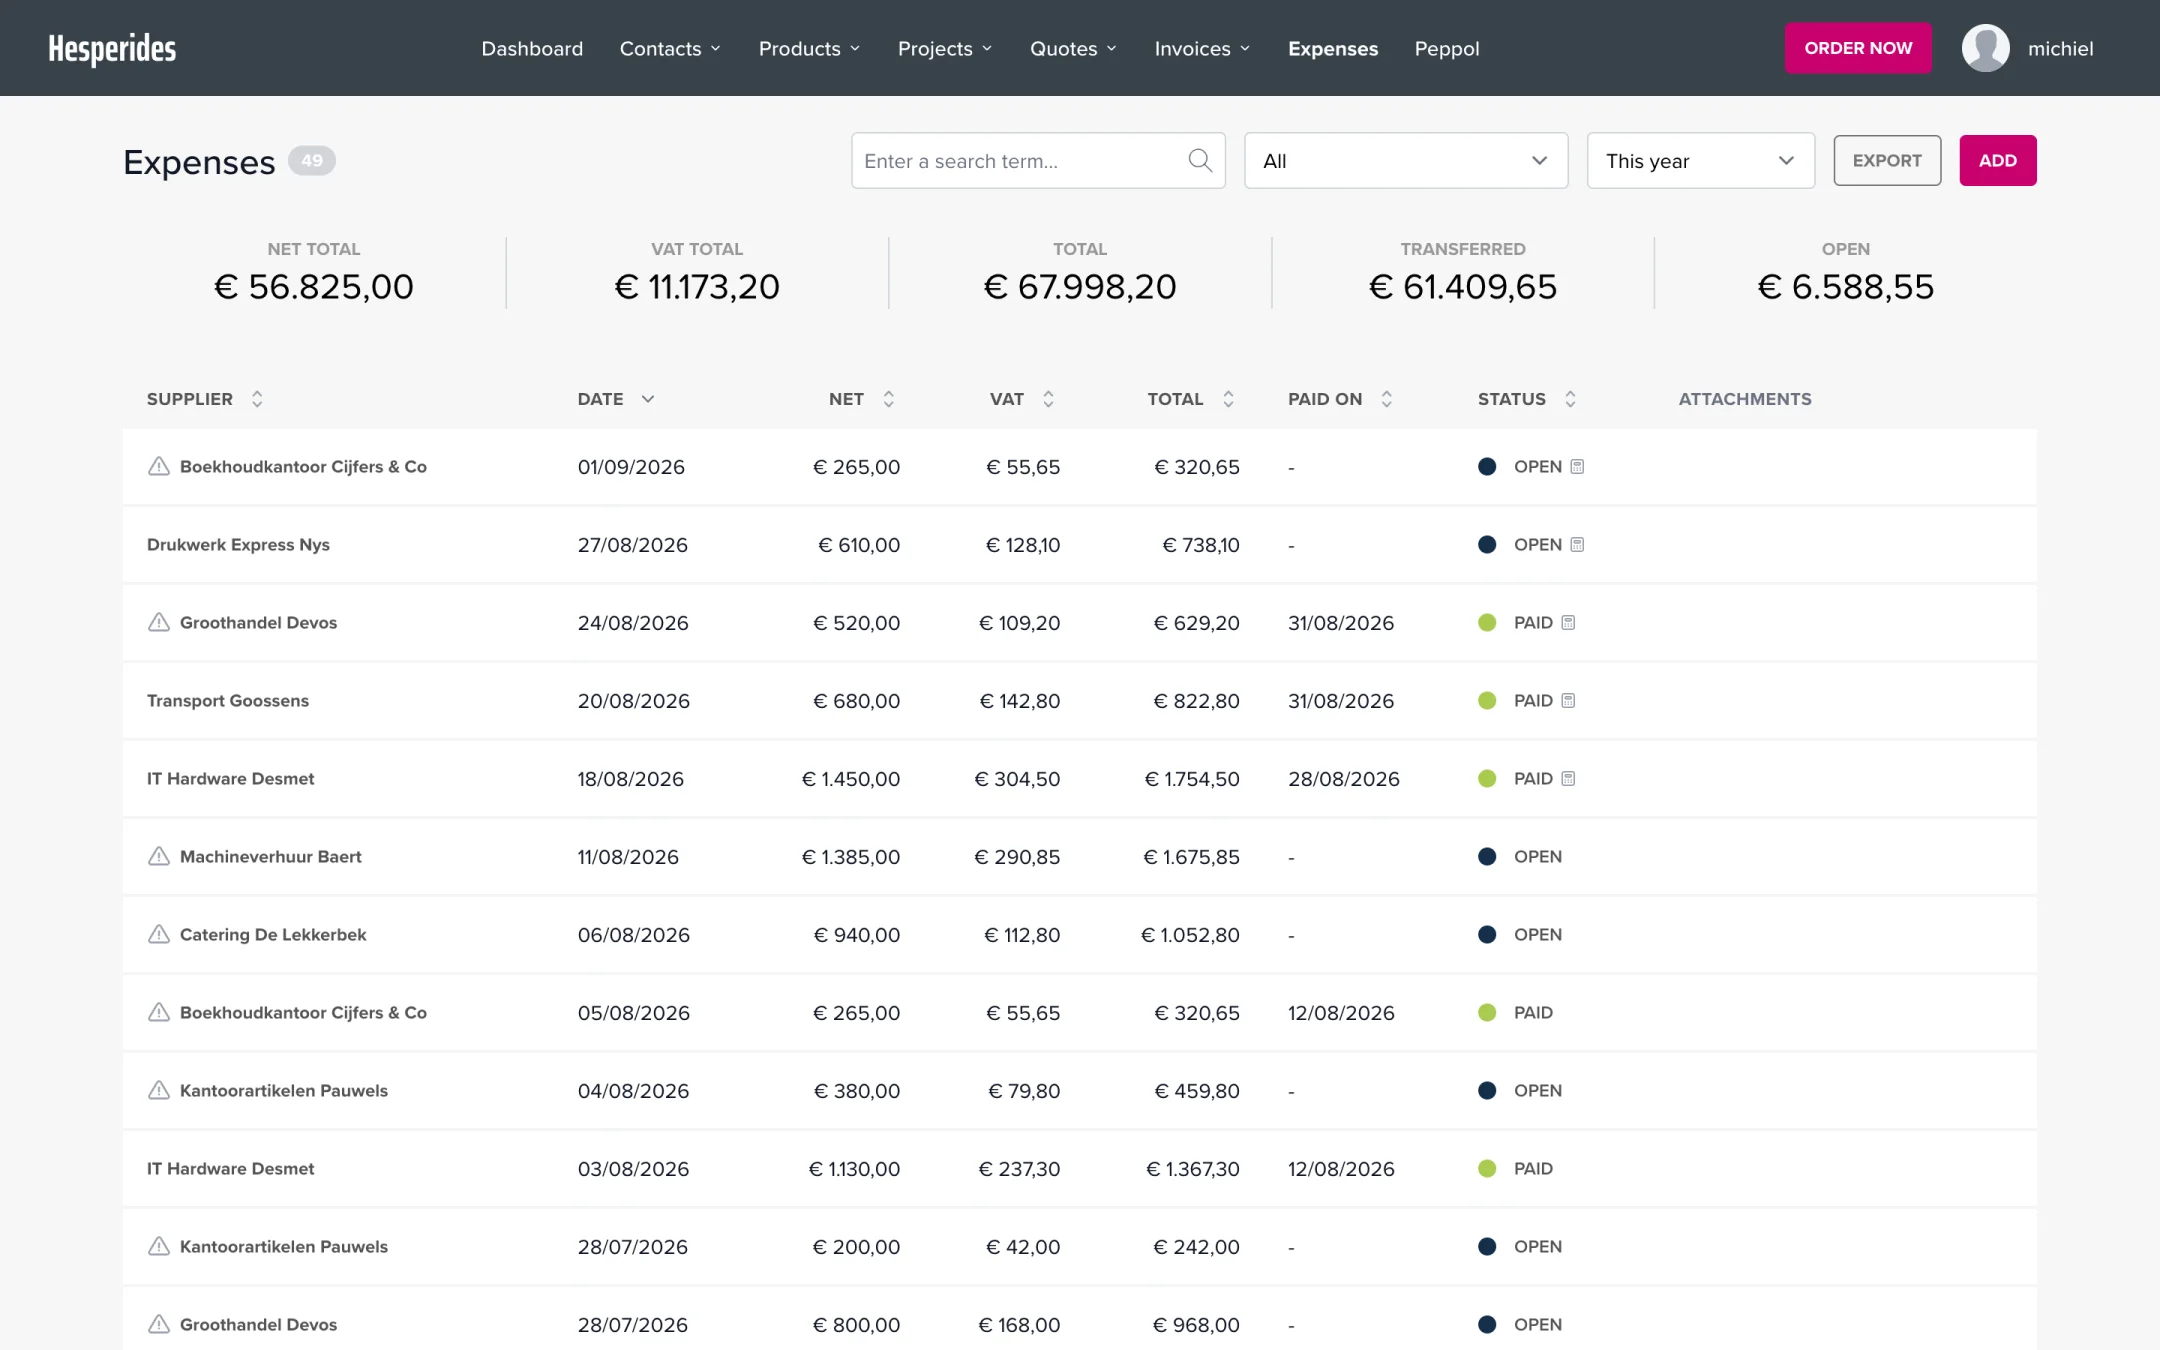
The Expenses module contains your definitive list of:
This is the place from which you export documents to your accountant.
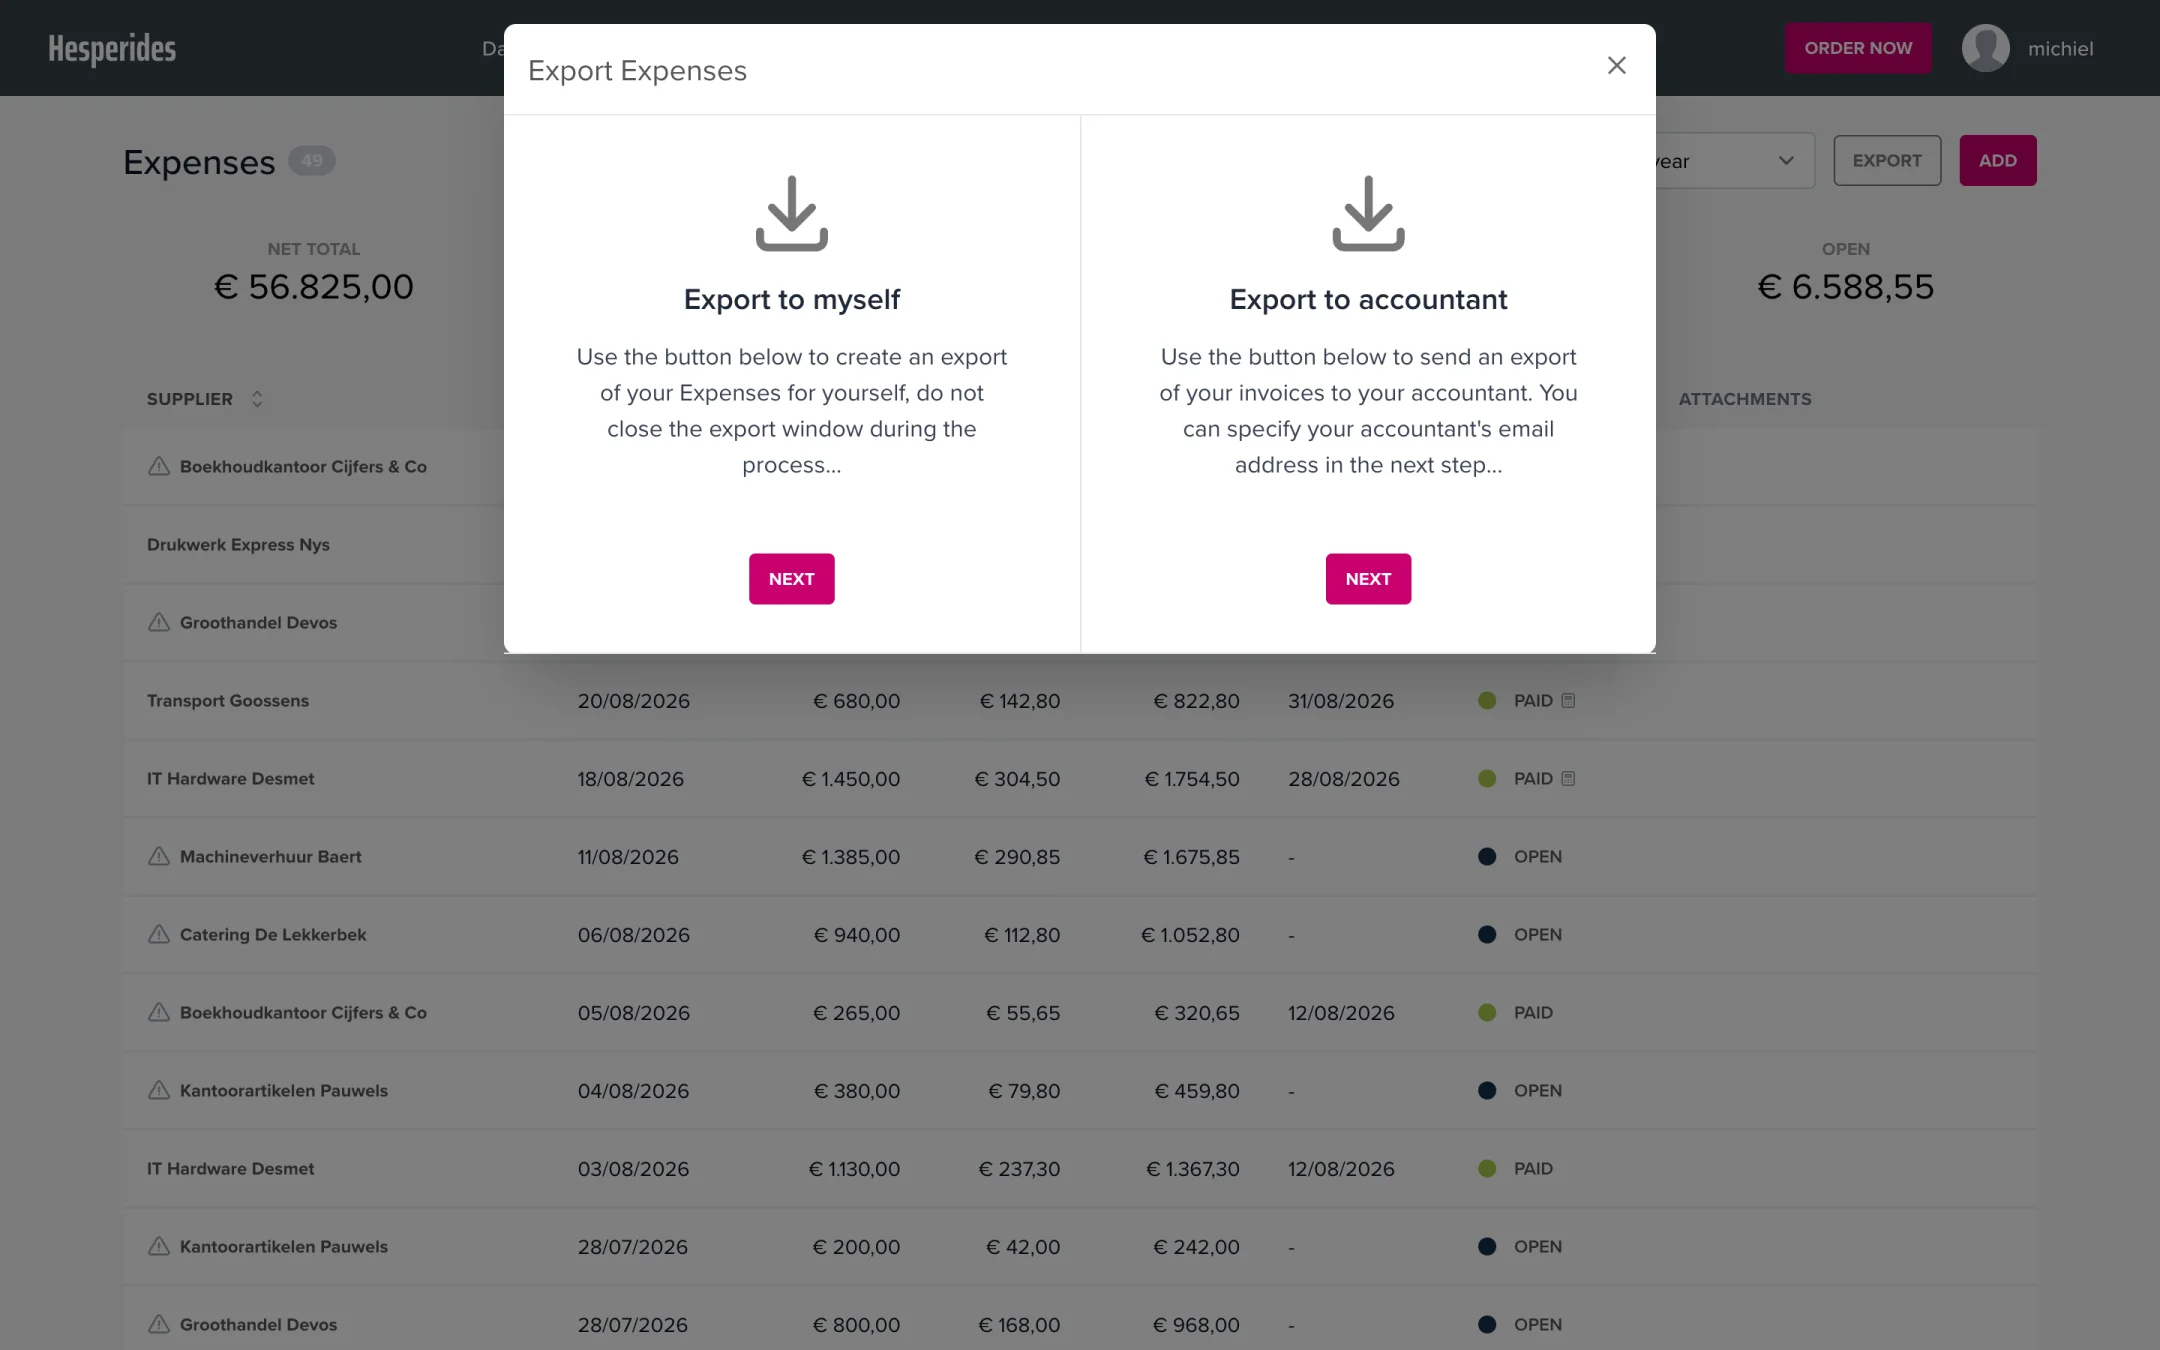
Once your documents are in Expenses, you can forward them:
💡 Tip: Documents that you have already exported are marked, so you always know what you have already sent to your accountant.
| Step | Module | Action |
|---|---|---|
| 1 | Peppol | Receive Peppol documents |
| 2 | Peppol | Open, review and import or reject a document |
| 3 | Expenses | Check scanned documents (AI Scan) |
| 4 | Expenses | Manage the final list of purchase invoices |
| 5 | Expenses | Export to your accountant |
